Most clothing brands do not fail because of bad ideas. They fail because the designs were never production-ready. Getting your designs for clothing into a format that factories can actually work with is the step that separates brands that launch from brands that stay in spreadsheets. These 7 strategies give you a practical path from concept to confirmed production run.
Your designs for clothing may look perfect on screen or in a sketchbook. A manufacturer sees something different: they see every missing measurement, every undefined trim, every fabric not yet sourced. Translating creative vision into production-ready documentation is a skill, and it is one that gives you real leverage in factory conversations.
This guide covers exactly how to do that, whether you are approaching your first manufacturer or preparing your second collection.
1. Start With a Finalized Flat Sketch, Not a Mood Board
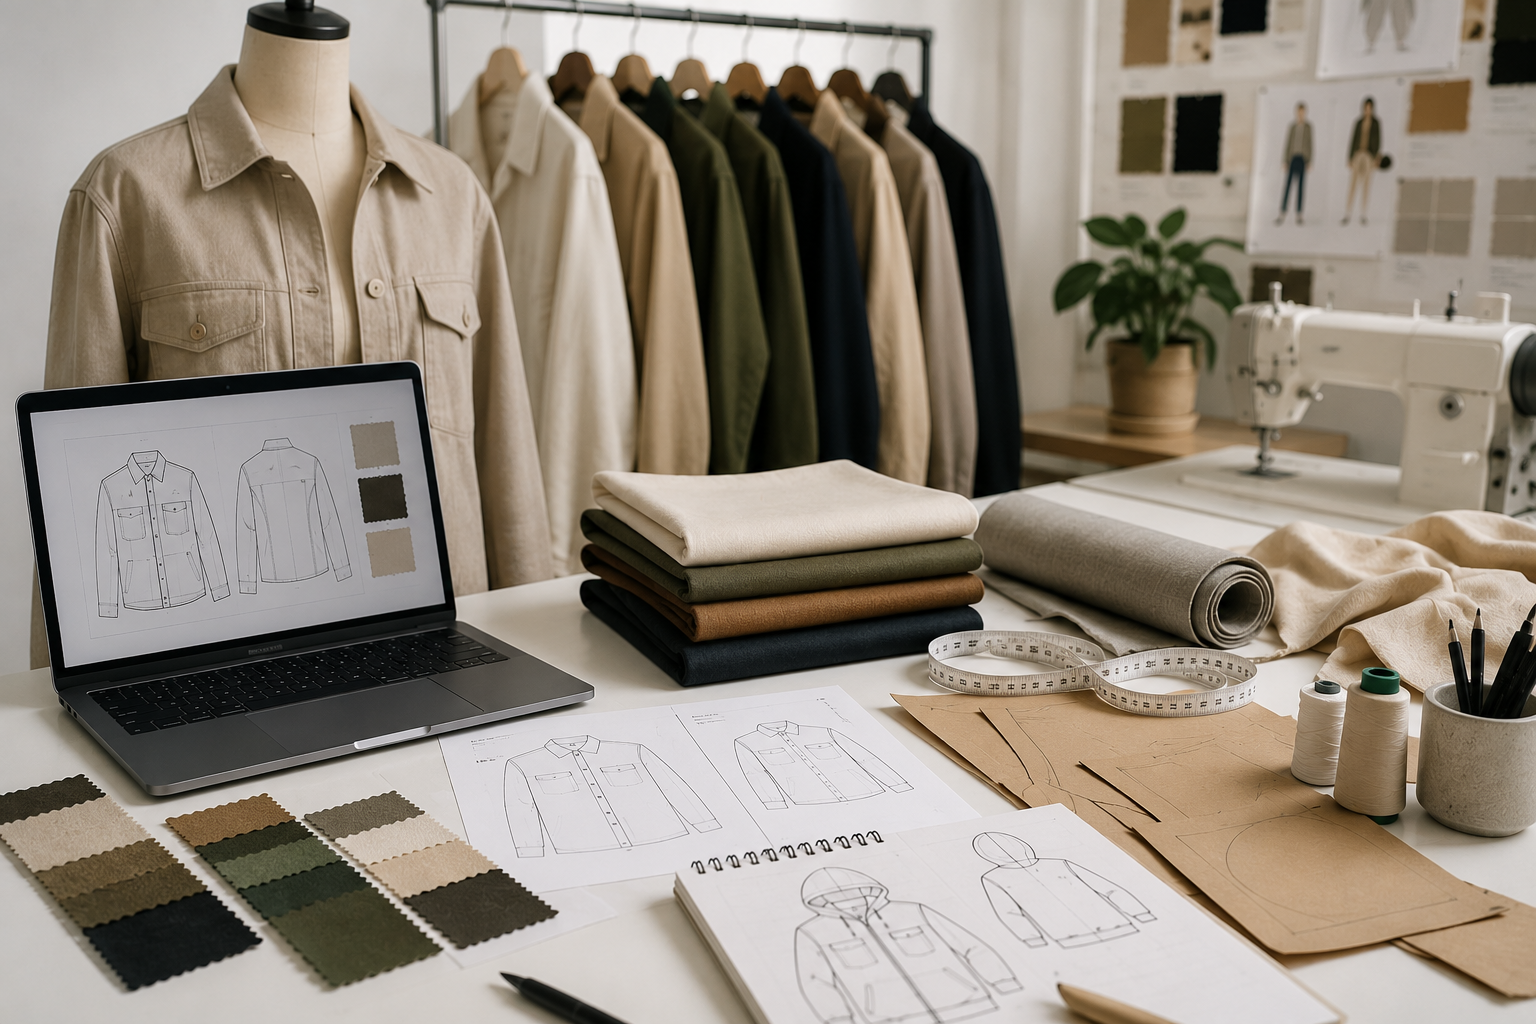
Manufacturers cannot quote, sample, or produce from a mood board. The first practical step in preparing your designs for clothing is converting inspiration into a clean, detailed flat sketch.
A flat sketch (also called a technical flat or CAD flat) shows your garment from the front and back with clear lines, stitching details, pocket placement, zipper types, and any construction notes. When a factory pattern maker reads your flat sketch, they should not need to guess at anything.
You do not need to be an illustrator. Tools like Adobe Illustrator, CLO3D, and Procreate with grid overlays all produce production-usable flats. If you are not comfortable creating them, a freelance technical designer typically charges between $50 and $150 per style, according to SCORE.
Label every component directly on the sketch. Front neckline depth, sleeve length, hem finish, and logo placement should all appear as annotated callouts. Keeping your designs for clothing annotated at this level prevents the most common first-sample errors.
2. Build a Tech Pack Before Contacting Any Manufacturer
A tech pack is the single most important document in apparel production. Sending your designs for clothing to a manufacturer without one is the fastest way to get inaccurate quotes, bad samples, and wasted months.
A complete tech pack includes:
- Your flat sketches (front and back)
- A full measurement specification sheet with all points of measure
- Fabric and material callouts with weight, content, and finish
- Trim details: zippers, buttons, labels, thread colors
- Construction notes and stitch type per seam
- Colorway references tied to Pantone or approved swatches
- Packaging and labeling requirements
According to the American Apparel and Footwear Association (AAFA), clear pre-production documentation is one of the most significant factors in reducing sample revision cycles and production delays. Every additional revision round costs time and money.
Read the Maker’s Row guide to creating a professional tech pack before approaching any factory. The time you invest here comes back multiplied during sampling.
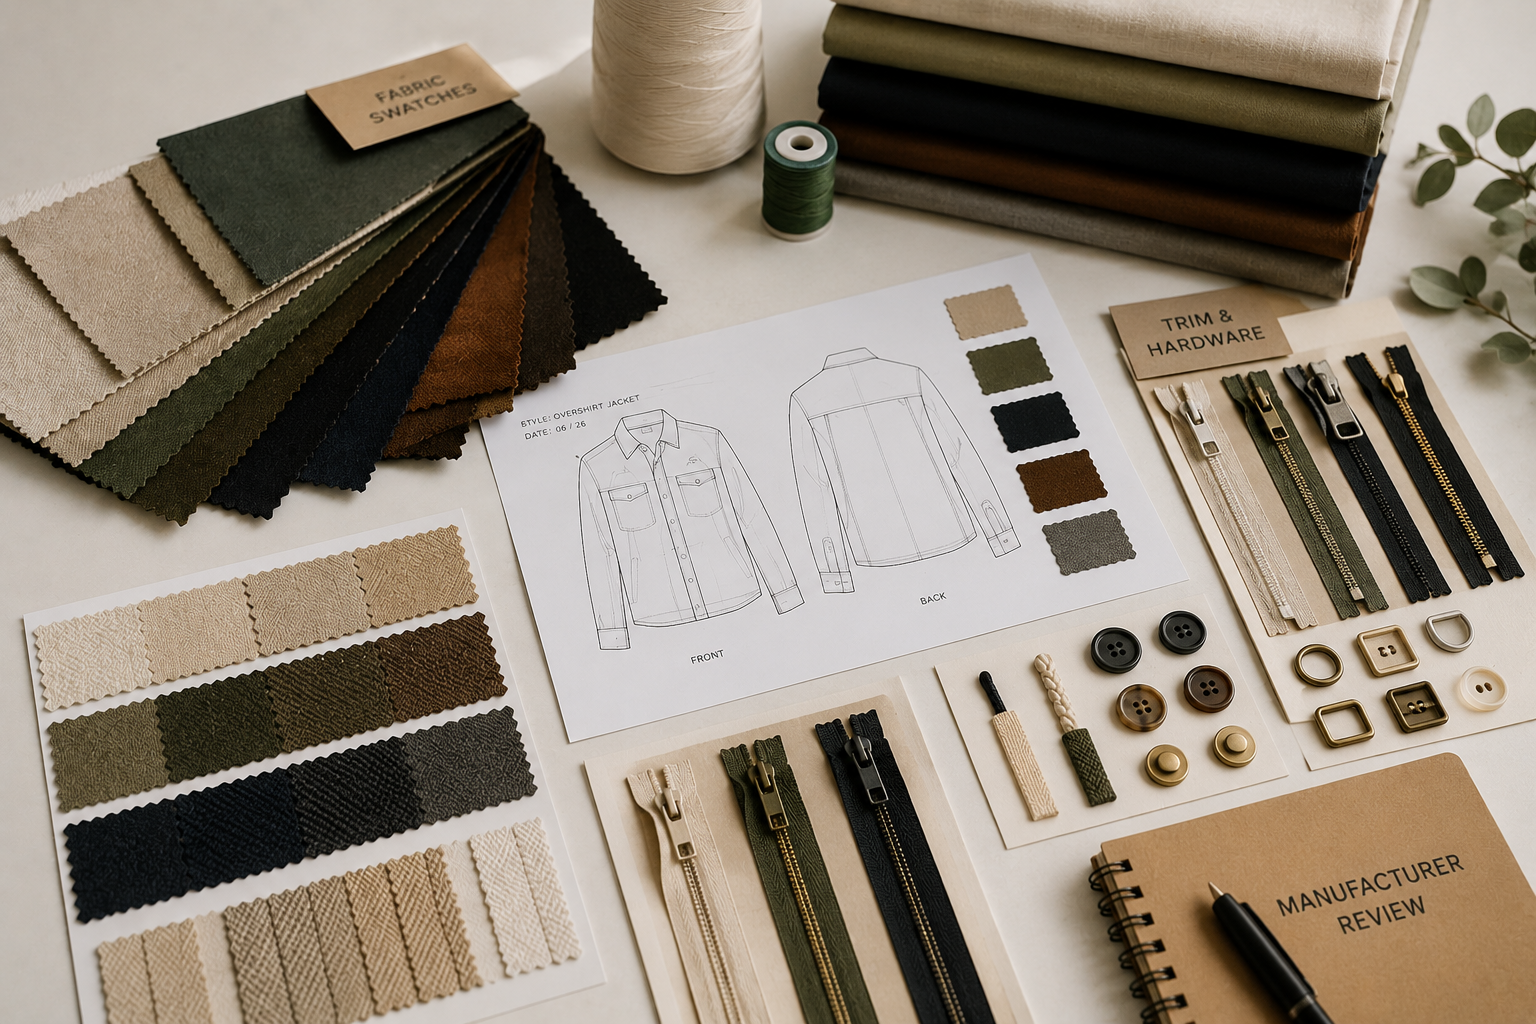
3. Define Your Fabric and Trims Before Sampling
Undefined fabric choices are the number one cause of sample rejection at the first fitting. If your designs for clothing include vague notes like “soft jersey” or “denim-like fabric,” a factory will substitute whatever they have on hand.
Before sampling, define your fabric as specifically as possible:
- Fabric type and content: e.g., 95% cotton / 5% elastane single jersey
- Weight: e.g., 220 GSM
- Finish: e.g., enzyme-washed, pre-shrunk, brushed interior
- Certification (if required): OEKO-TEX, GOTS, or recycled content claims
For trims (buttons, zippers, labels, elastics), provide a physical swatch, a supplier reference number, or a product link. “Brass zipper, 6-inch, YKK #5” is production-ready. “Metal zipper” is not.
The Textile Exchange publishes open resources on fiber standards and certification pathways that help you narrow down fabric choices, especially if your brand has a sustainability commitment.
4. Specify Colorways With Industry-Standard References
Color is subjective until you give it a code. A factory in Los Angeles and a dye house in South Carolina see “dusty rose” differently. Pantone Textile Color System references remove the guesswork and make your designs for clothing easy to reproduce consistently across production runs.
For every colorway in your line, assign a Pantone TCX or TPG number to each fabric, thread, and trim. If your brand uses a specific custom color, provide a physical swatch marked as your approved color standard.
A practical workflow for new brands: design in Pantone colors from the start. Choose your colorway before committing to a fabric or placing a sample order. Always ask which format your manufacturer prefers before sending your designs for clothing to the sampling stage.
5. Decide on Sizing and Grading Before You Request Quotes
Factory quotes and sample timelines depend on your size run. If you do not specify this upfront when submitting your designs for clothing, manufacturers quote for a single size, and you end up repricing when you add the full range.
Grading is the process of scaling your base pattern up and down across your size range. It affects fabric consumption, cut efficiency, and cost per unit.
Before requesting quotes, decide:
- Which size is your fit sample base (typically S or M for women’s, M for men’s)
- Your initial size run (e.g., XS–XL or S–2XL)
- Whether you want even or vanity grading increments
The Small Business Administration notes that production costs for apparel startups vary significantly by size range complexity, making sizing decisions a key input in financial planning. If you are launching a first run of designs for clothing, starting with two or three sizes and expanding later is a legitimate cost management strategy.
Use the Maker’s Row clothing manufacturer readiness checklist to confirm your sizing documentation is complete before reaching out to any factory.
6. Protect Your Designs Before Sharing Them
Before you send your designs for clothing to any manufacturer, take basic steps to protect your intellectual property. This is not about paranoia. It is standard professional practice in the apparel industry.
Add a confidentiality notice to every document. Your tech pack, flat sketches, and spec sheets should each carry a visible statement: “Confidential. Prepared by [Your Brand Name]. Do not reproduce or distribute without written permission.”
Use an NDA for new manufacturing relationships. A one-page NDA signed before sharing designs provides a legal record. The USPTO offers resources on design protection and intellectual property rights for product businesses.
Date and document your design iterations. Keep timestamped records in cloud folders with auto-dated version history, or file a provisional design patent if you have a novel garment construction.
Read the Maker’s Row guide on how to protect your clothing designs for a complete breakdown of IP options at each stage of development.
7. Audit Your Design Files for Production Gaps
The last step before sending your designs for clothing to a factory is a structured self-audit. Treat your own design package the way a critical factory would: look for everything missing.
Run through this checklist:
- Does every flat sketch have a corresponding spec sheet?
- Are all measurements specified in both inches and centimeters?
- Is every fabric and trim identified to a specific standard or reference?
- Are Pantone numbers confirmed against physical swatches?
- Is the size run defined and base size marked?
- Are logo placement and label requirements documented?
- Is the packaging spec included?
- Does the tech pack include care instruction requirements?
A Los Angeles activewear brand working with a Maker’s Row factory caught a missing care label specification during a pre-submission audit. Adding it before sampling saved a full revision round, approximately three weeks and $800 in costs.
The guide to essential pattern making steps on Maker’s Row covers the technical review process that pattern makers run before cutting your first sample, which gives you an additional checklist framework.
How Maker’s Row Helps You Find the Right Manufacturer for Your Design
Several of the strategies above come down to one thing: finding a manufacturer who works with brands at your stage and understands your designs for clothing and their complexity. That is exactly what Maker’s Row is built for.
Finding the right manufacturer does not have to mean months of cold emails. On Maker’s Row, post your clothing design project for free and verified US manufacturers bid directly. Review bids, check profiles, connect when ready.
On Maker’s Row, brand owners post unlimited manufacturing projects for free and receive bids from verified US factories at no upfront cost. To connect directly, subscription plans give full access.
Describe your designs for clothing, fabric preferences, and target size run in your project brief and manufacturers who specialize in that work respond directly.
FAQs About Preparing Designs for Clothing Production
To get your designs for clothing ready for production, you need at minimum a finalized flat sketch, a tech pack with full measurements, fabric and trim specifications, Pantone color references, and a defined size run. Manufacturers need all of this before they can provide accurate quotes or begin sampling. Sending incomplete designs is the primary reason first samples miss the mark.
Yes. A tech pack is the document that allows a manufacturer to cost, pattern, and sample your garment accurately. Without it, quotes are rough estimates and sample revisions multiply. Most experienced US manufacturers ask for a tech pack before accepting a new project.
Tech pack costs vary depending on the complexity of your designs for clothing. Freelance technical designers typically charge $50 to $300 per style, according to SCORE. Some Maker’s Row factories offer tech pack development as a paid service during the sampling phase if you have detailed flat sketches to start from.
You can, but it is not recommended for your designs for clothing. Adding a confidentiality notice to your documents and having manufacturers sign a basic NDA before sharing designs creates a clear legal record at no cost. The USPTO provides guidance on design patent options for garments with novel construction details.
A well-prepared design package with a complete tech pack and confirmed fabric sourcing typically results in a first sample within 4 to 8 weeks with a US manufacturer. Incomplete documentation routinely adds 2 to 6 additional weeks for clarification and revision rounds.
Start Applying These Strategies Today
Your clothing brand is one manufacturer away from becoming real. The factories are on Maker’s Row, ready to bid.